📝 FedOps VLM Guide
1. Download the Codebase Setup
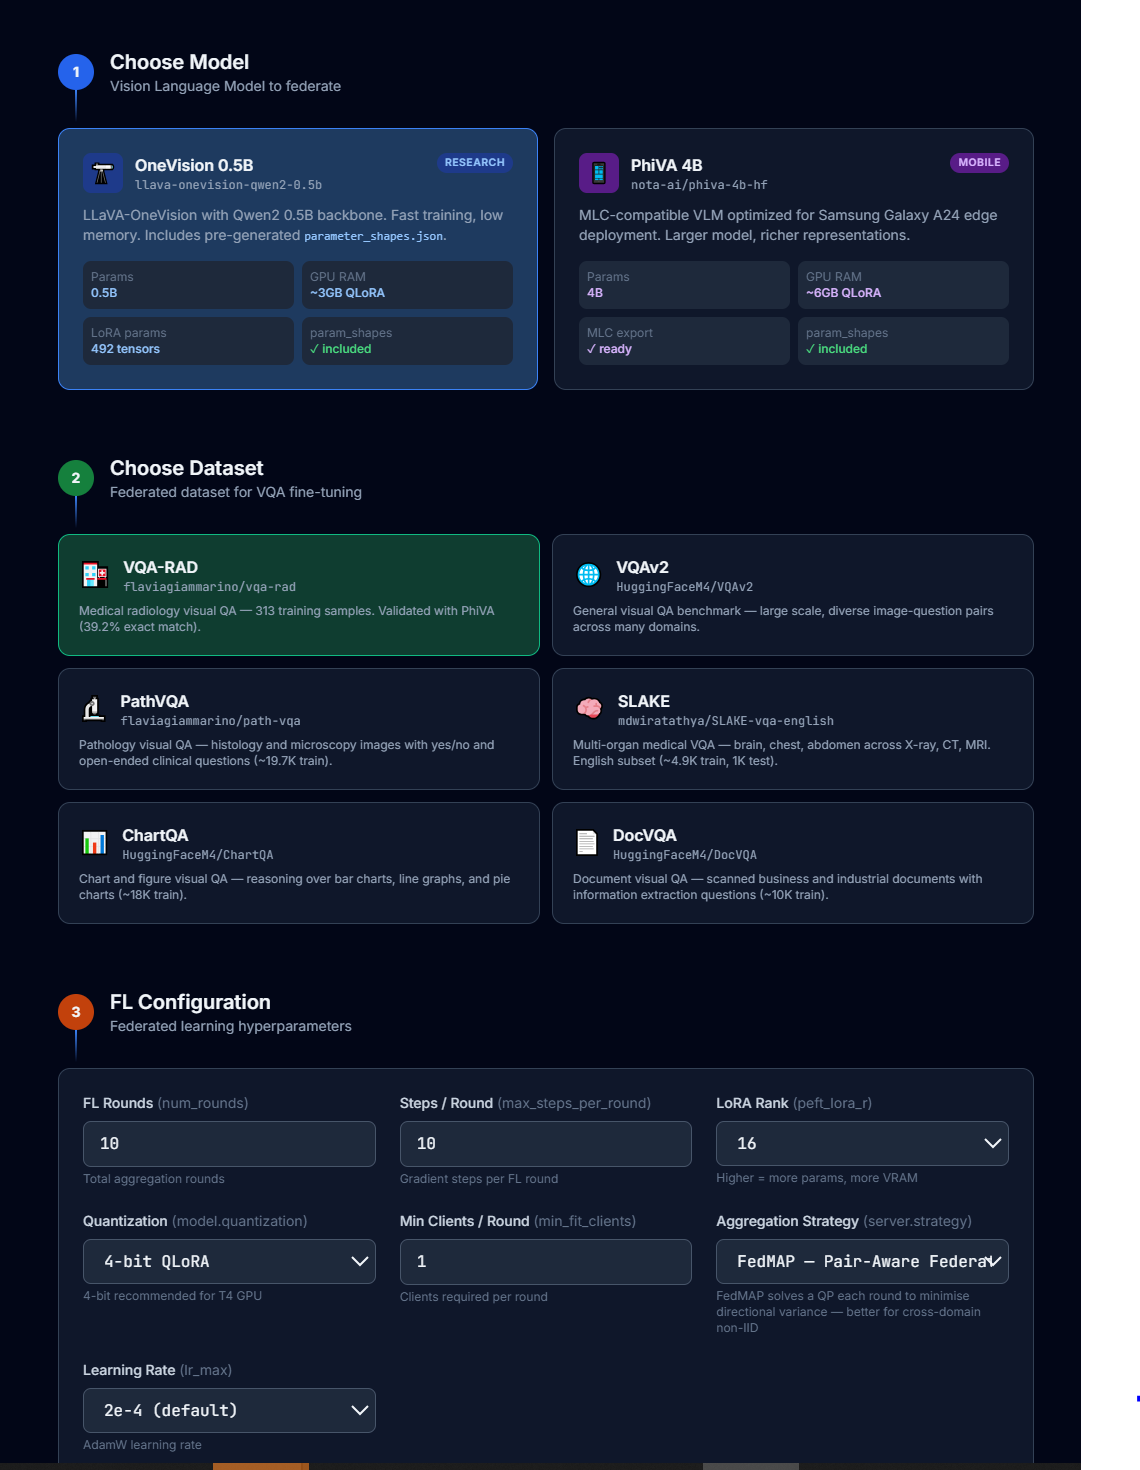
💡 Go to https://gachon-cclab.github.io/fedopsMultimodal/ Select Your model, Dataset, FL Configs, aggregation strategy and Click Download Codebase.
select as below:
Model: OneVision 0.5B
Dataset: VQA-RAD
Aggregation Strategy: FedMAP
and then click:

now you will automatically download a zip folder with whole codebase files. Unzip it.
2. Now, the codebase include following files.
conf/config.yaml - This is where configurations reside (including the task ID)
client_main.py - This is the main file the client side logics reside
client_manager_main.py - This is the connection check file of client side
data_preparation.py - Data loading, preprocessing logics reside here
models.py, generate_paramshape.py - file, which will generate model’s parameter shape
parameter_names.json - this is needed for the client side to distinguish parameter types
parameter_shapes.json - Generated parameter shape of the model
setup.sh - The file, which sets up the environment including dependencies of client side
3. Open the folder in your IDE (VSCode)
Open your bash terminal,
then run
conda create -n *fedops_multimodal_env python=3.12.7
conda activate fedops_multimodal_env
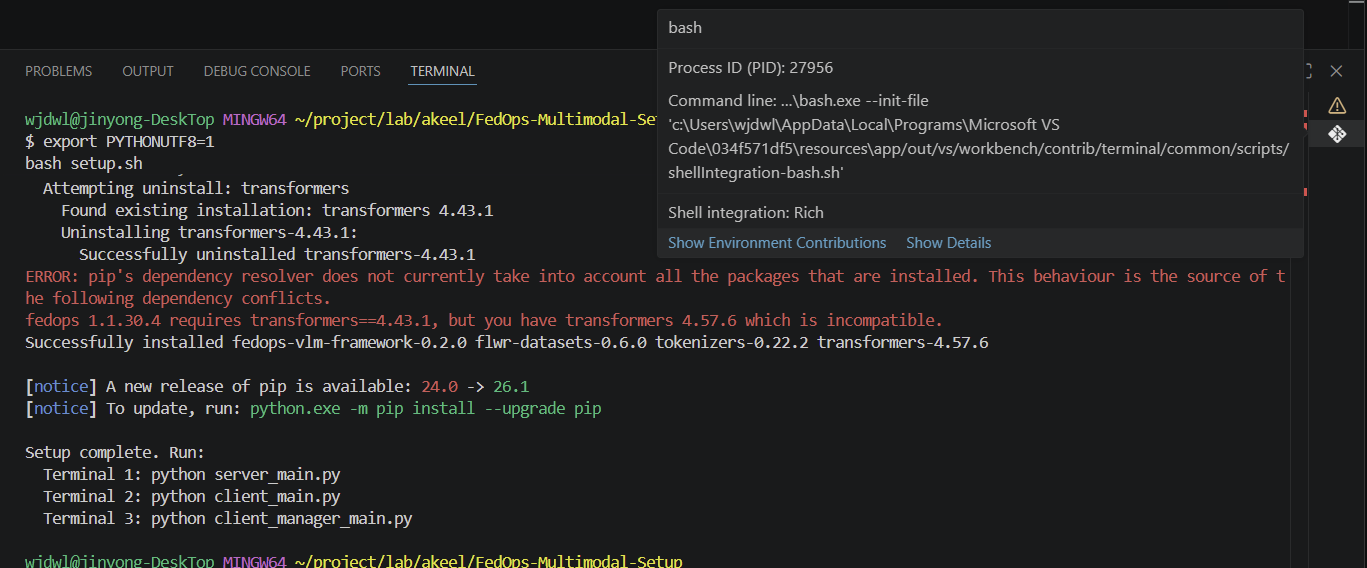
chmod +x setup.sh
bash setup.sh
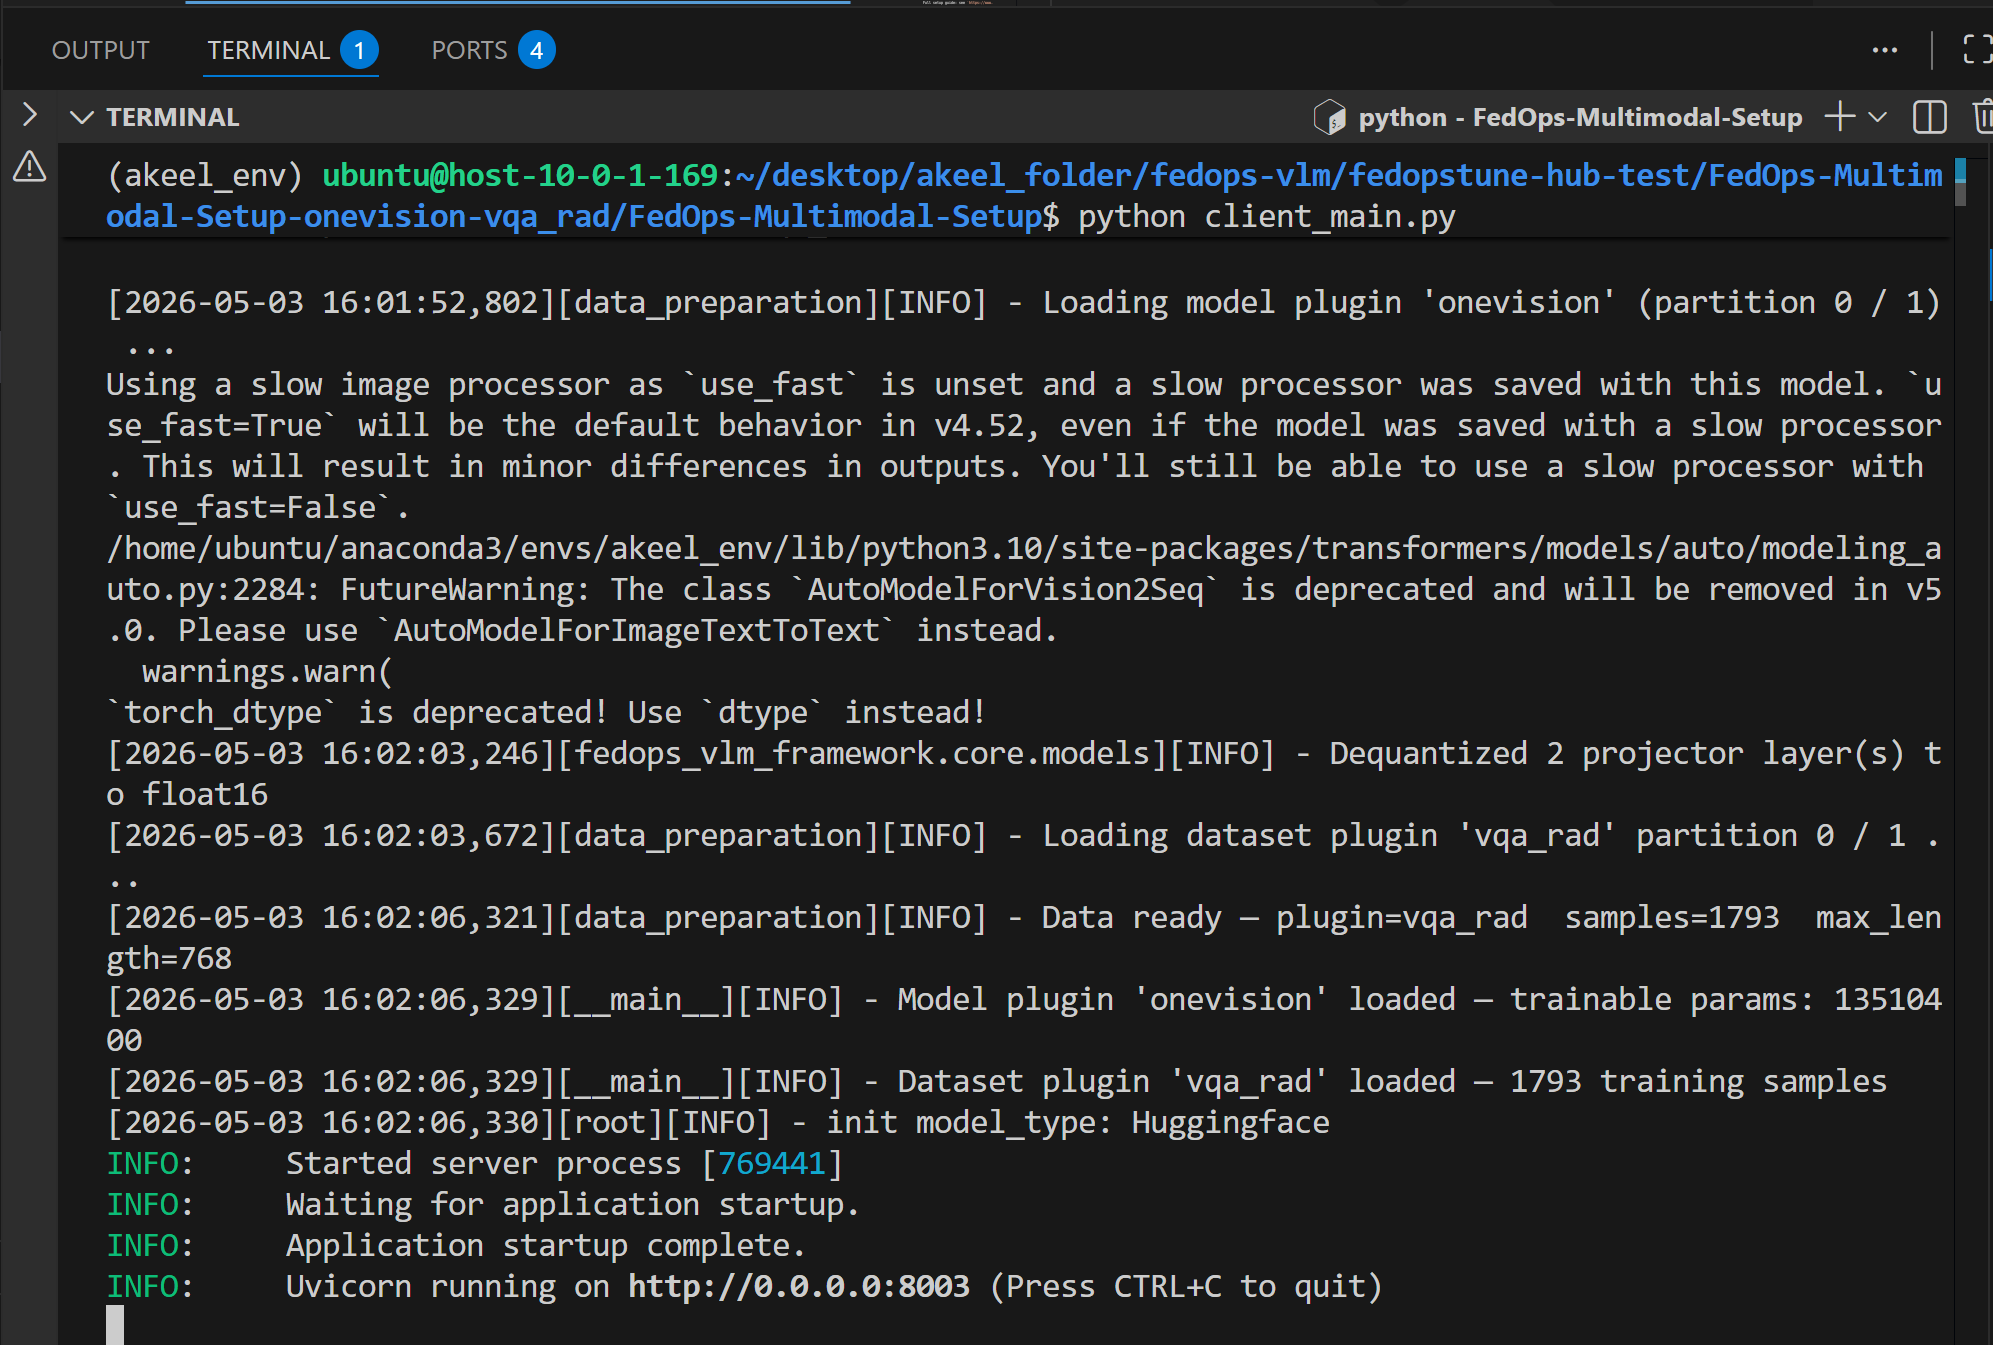
and then run python client_main.py
Now open a new terminal in the same folder path, and run
python client_manager_main.py
4. Server Side Code Management
Visit: FedOps Task Page
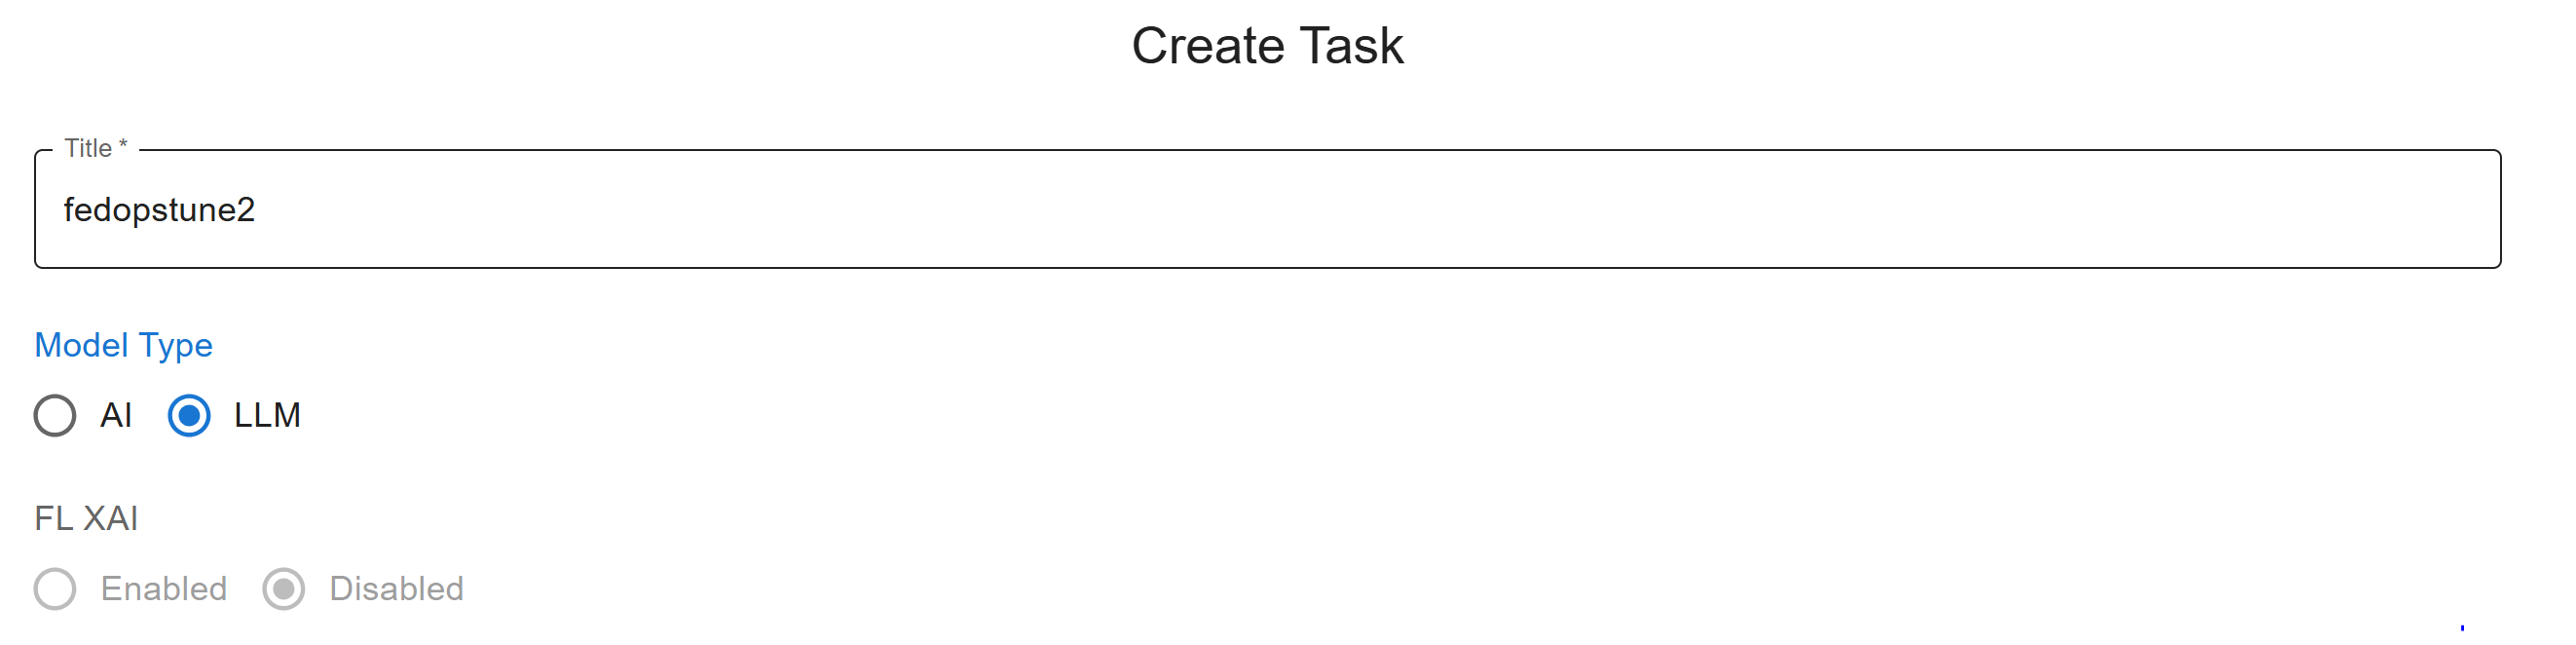
signin and create a task named task id: ”fedopstune2”. and do the followings
Leave the rest as it is.
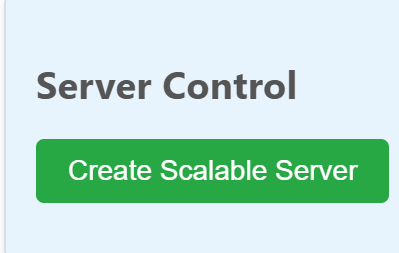
Go to Server Management Press Below shown green button to create a Server pod in Fedops K8 Environment
Scale the Resources(memory): please do enter Scale Resources button after entering 10Gi as memory.

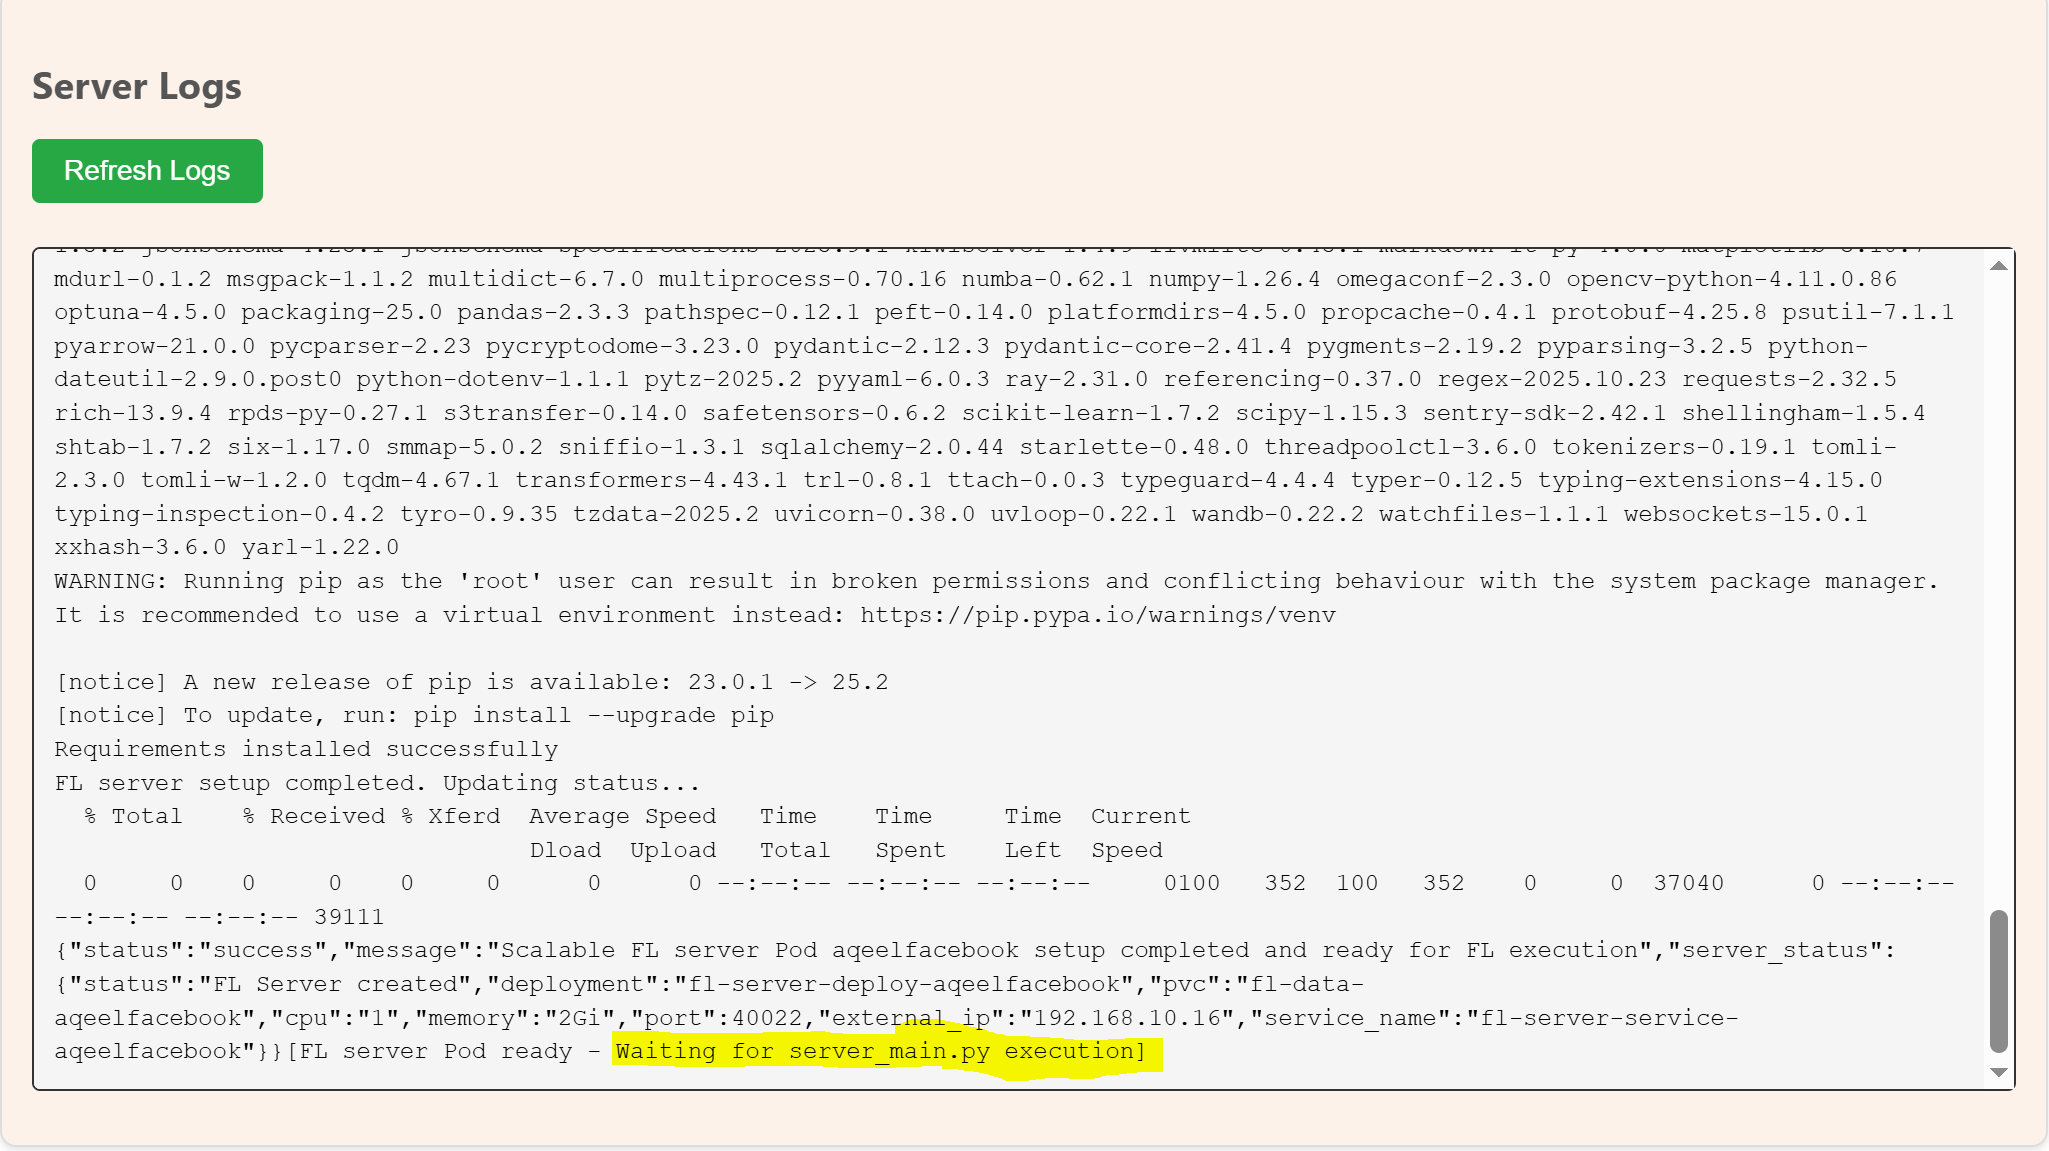
Now check the server status through below picture. keep refreshing the status and wait until you see similar to this.

Wait for around 6-7 mins until you see yellow colored log in Server log section below in same server management tab (shown in picture). Keep refreshing the logs to see real time log.
Then, start editing server side files
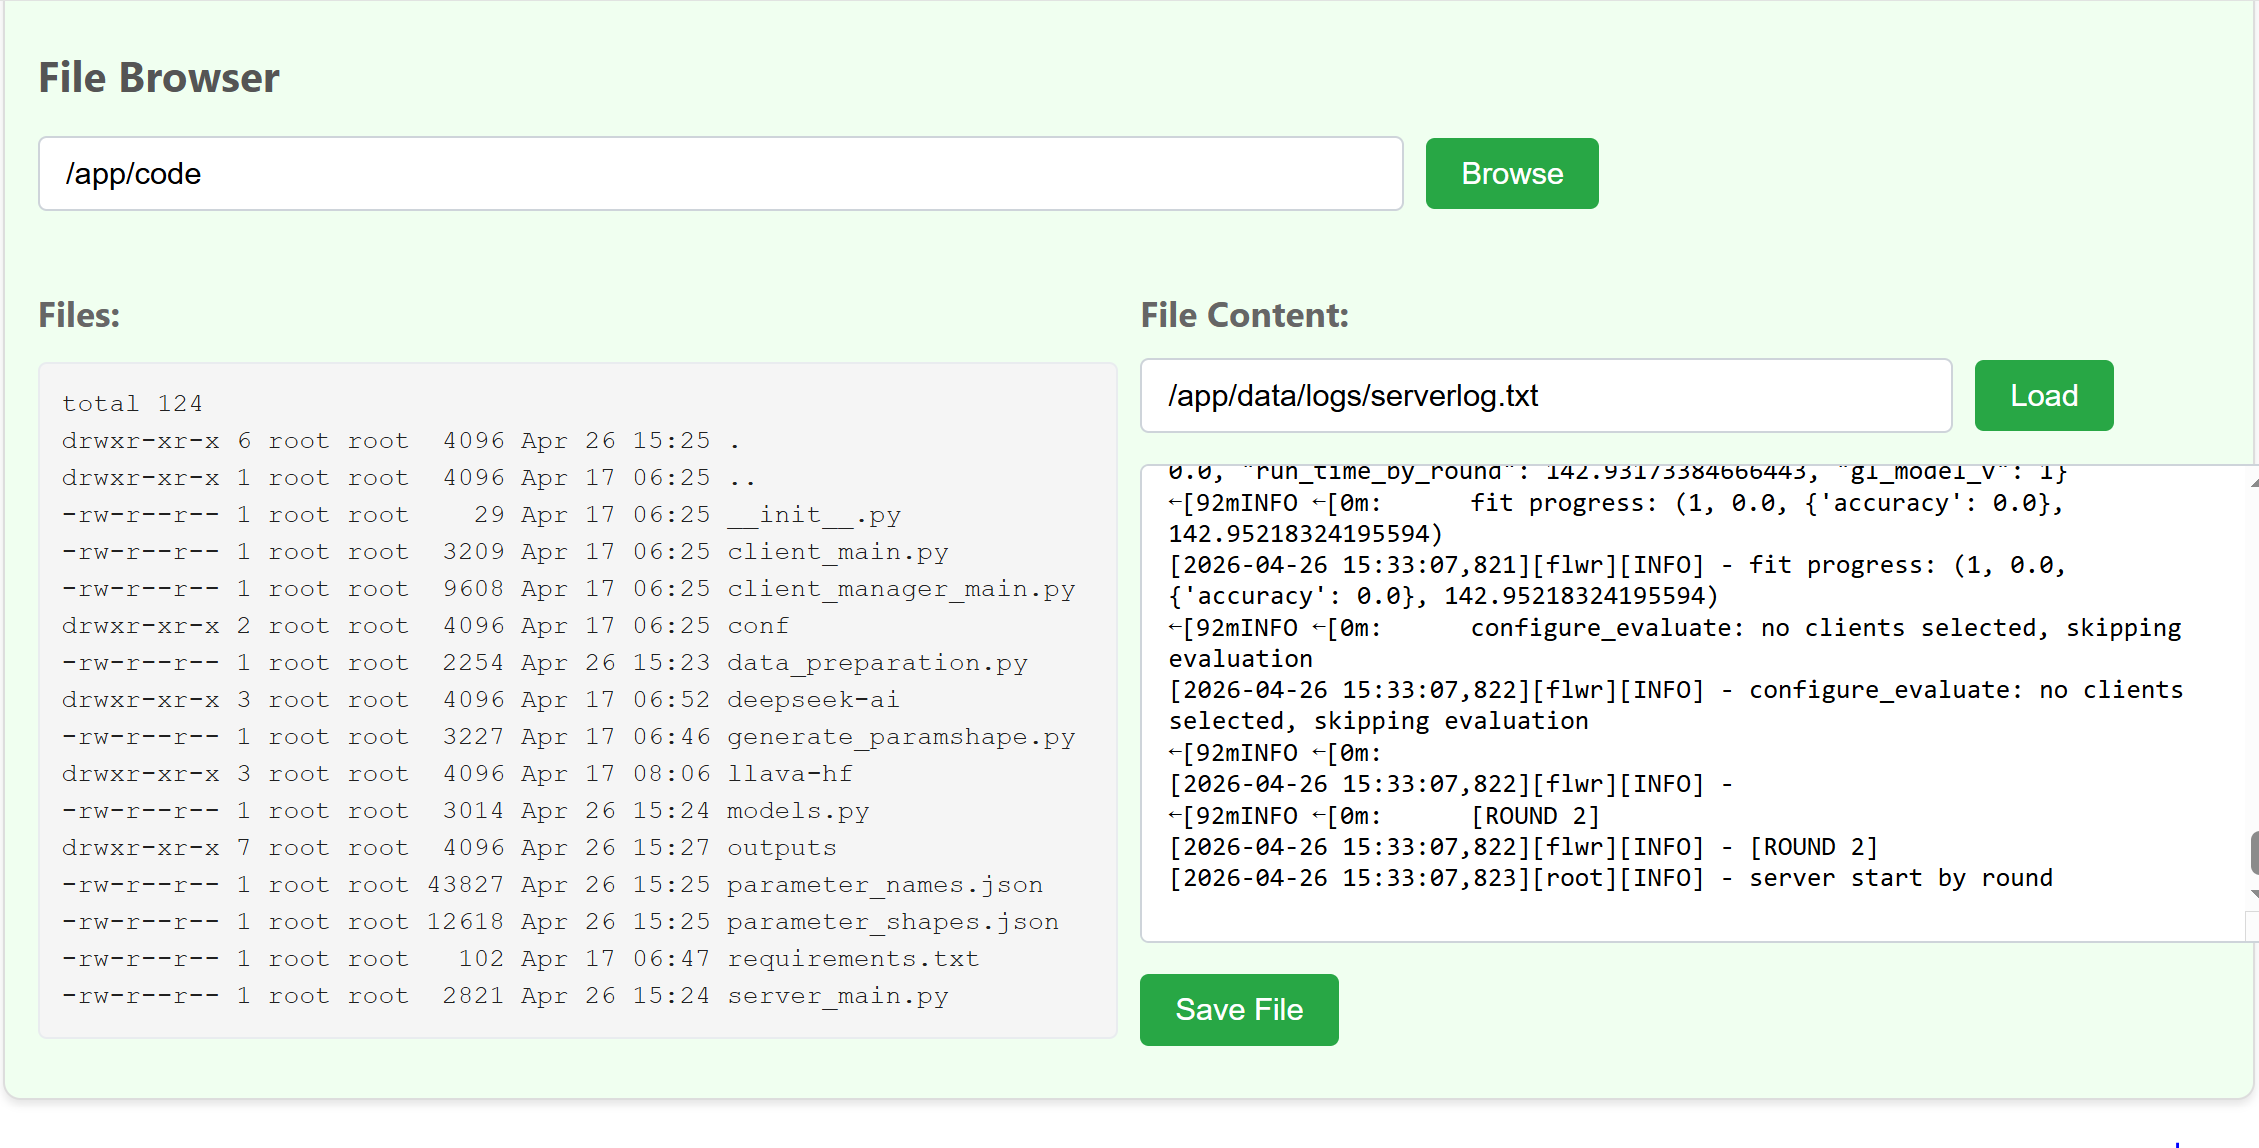
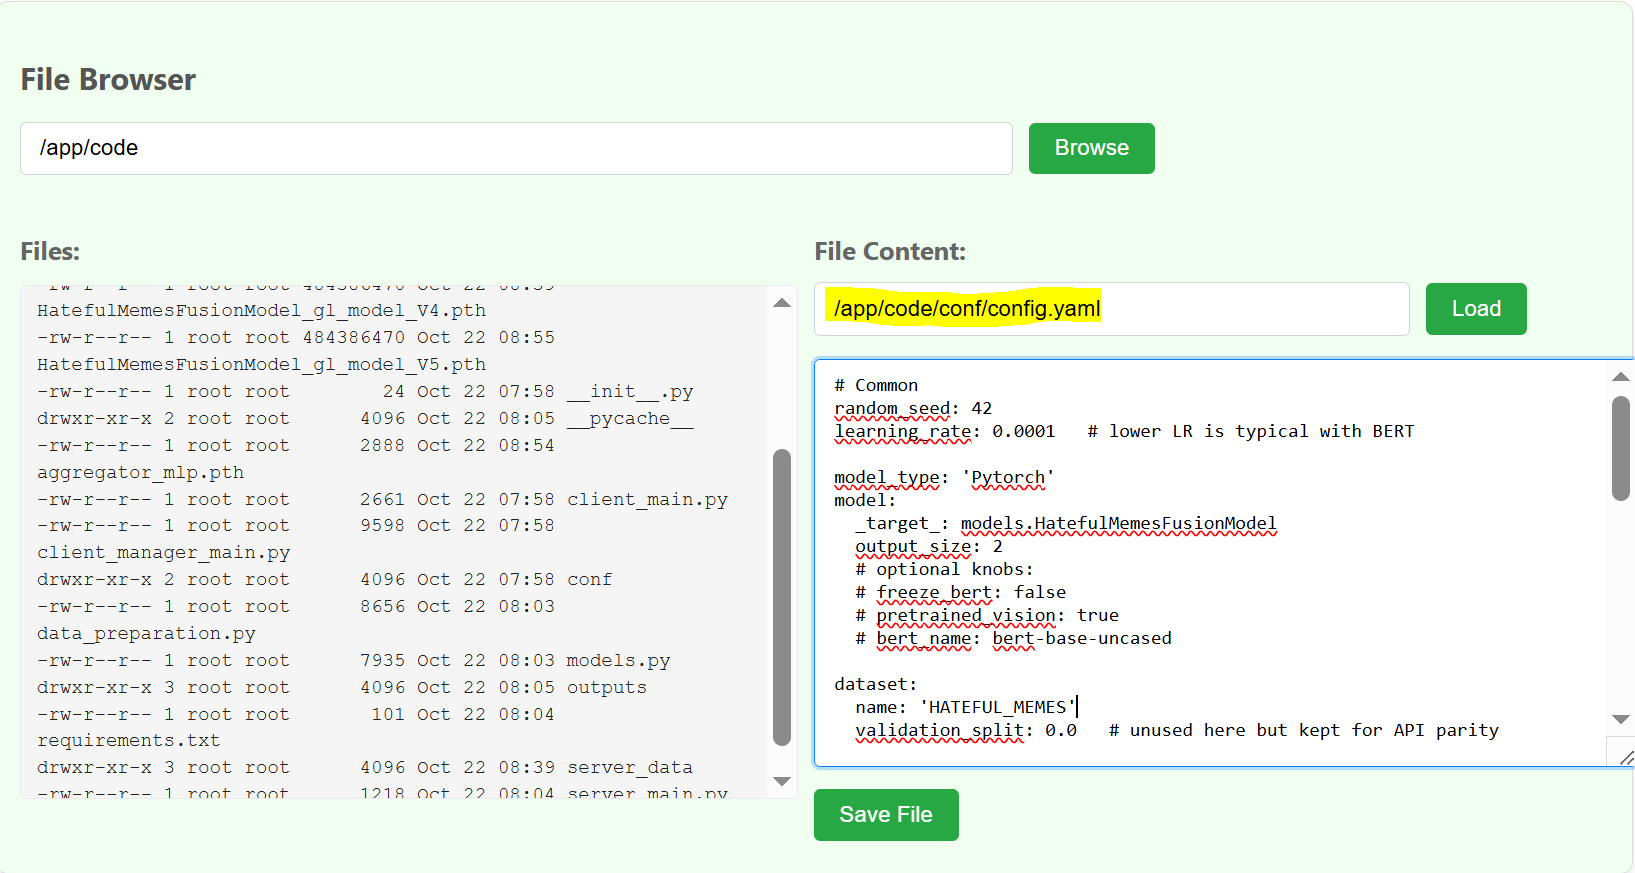
💡 You can check server side files structure by typing file browser path as below and clicking browse button
💡 Paste the file names with path in yellow colored text space → Copy & paste the file content from downloaded folder content into code space → Press save file button. Likewise this, do for each and every file path mentioned below.
filenames with path as follows:
/app/code/conf/config.yaml
/app/code/parameter_shapes.json -Just copy paste this content ,so it will automatically gets created
/app/code/parameter_names.json -Just copy paste this content ,so it will automatically gets created
/app/code/server_main.py
Install below dependency as below by pressing execute:

5. Start the FL Server
Start the actual server:
💡 Click Start FL Server button to prepare the command to run the FL server. you can then see log below says FL server created.
💡 you must type /app/data/logs/serverlog.txt in File content field and press load button to see real time server side logs, and monitor server side FL global model training process.
💡 You can stop the server by “stop FL server” button ,if you want to stop the server in middle.